


The Beginner’s guide to E-liquid Mixing
Mixing your own e-liquid isn’t as difficult as it seems. Done correctly it can provide a whole new world of potential flavour combinations at a fraction of the price of pre mixed. This guide will inform you on how e-liquid is made, hopefully making it less daunting and easier to understand if you are just getting started in DIY E-liquid.
For the purposes of this guide we will be making a 60VG/40PG, single flavour, 30ml bottle of e-liquid.
This is a great place to start, especially if it’s a flavour you haven’t tried before, as there’s nothing too complicated involved and you’re only using small amounts of liquid.
What you will need:
- a 30ml bottle
- a 10ml single flavour: this can either be a pre mixed concentrate like a lemon tart or a single flavour like a blueberry. Completely your choice.
- 100ml PG
- 100ml VG – * If you are making a 12mg E-liquid, you do not need this ingredient*
- Nicotine shots (VG based) – *if you are making a 0mg liquid you do not need this.*
- Depending on your mg you will either need:
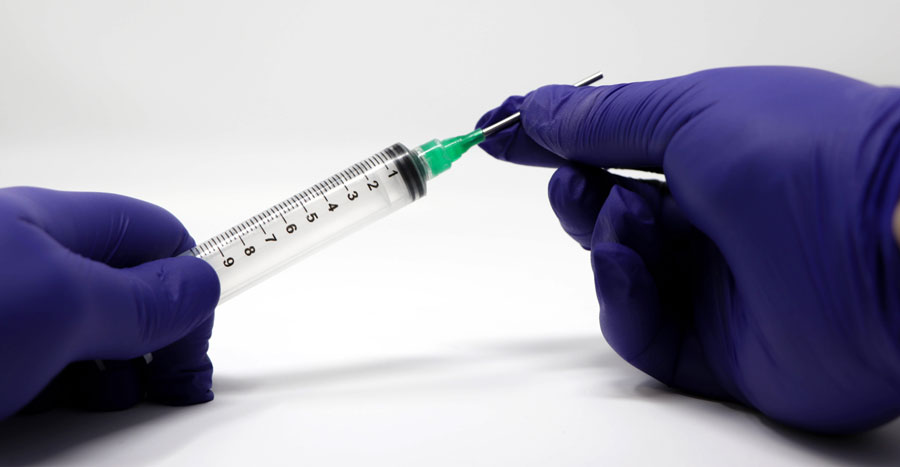
- Gloves
- 10ml Syringe
- Needle tip
Before you begin
- Your workspace should be completely clean to prevent anything contaminating the liquid.
- Put on your gloves to prevent any nicotine getting on your skin.
- Place the blunt needle tip on the syringe in preparation.
Step 1 – Your Flavour
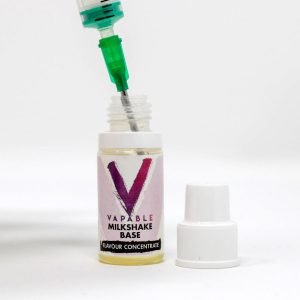 For ease this will be mixed at 15%. Check out our guide to flavour percentages for more information.
No matter how strong your chosen nicotine strength, this stage will always be the same.
- Remove the dropper nib from the bottle.
- Place the syringe into the bottle and draw out 4.5ml of the liquid.
- Syringe the flavour into the 30ml bottle.
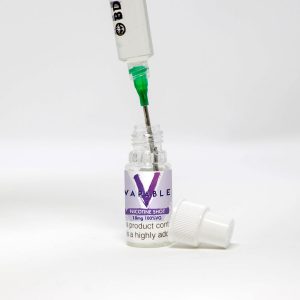
Step 2 – Nicotine
 Before you begin, pull some water into the syringe a few times to clean it out to remove any traces of the flavouring.
Depending on your chosen nicotine strength please follow the appropriate instructions below.
0mg
This step does not apply to you, feel free to go to the next step.
3mg
- Remove the nib from the VG Nicotine shot.
- Place the syringe into the bottle and syringe out 5ml of liquid.
- Place the 5ml of liquid into the 30ml bottle.
6mg
Depending on personal choice you can either:
- Squeeze the entire bottle into the 30ml bottle.
Or
- Remove the nib from the VG Nicotine shot.
- Place the syringe into the bottle and syringe out the full 10ml of liquid.
- Place the 10ml of liquid into the 30ml bottle.
12mg
Depending on personal choice you can either:
- Squeeze both the 10ml bottles into the 30ml.
Or
- Remove the nibs from the VG Nicotine shots.
- Place the syringe into the bottles and syringe out the full 10ml of liquid. One at a time.
- Place the 20ml of liquid into the 30ml bottle.
You’ll find a more in-depth explanation in our full Nicotine guide.
Step 3 – PG & VG
 Before you begin, clean out your syringe again by pulling in some water a few times and removing the traces of Nicotine. Again, the instructions here will vary depending on your chosen nicotine strength, so follow the steps below the mg amount you prefer.
0mg
- Take the caps off of both the PG & VG in preparation
- From the PG syringe out 7.5ml and place into the 30ml bottle.
- From the VG syringe out 18ml and place into the 30ml bottle, if you are having trouble with the VG as it is thicker, remove the needle tip and use the larger syringe opening.
3mg
- Take the caps off of both the PG & VG in preparation
- From the PG syringe out 7.5ml and place into the 30ml bottle.
- From the VG syringe out 13ml and place into the 30ml bottle, if you are having trouble with the VG as it is thicker, remove the needle tip and use the larger syringe opening.
6mg
- Take the caps off of both the PG & VG in preparation
- From the PG syringe out 7.5ml and place into the 30ml bottle.
- From the VG syringe out 8ml and place into the 30ml bottle, if you are having trouble with the VG as it is thicker, remove the needle tip and use the larger syringe opening.
12mg
- Take the caps off of both the PG & VG in preparation
- From the PG syringe out 5.5ml and place into the 30ml bottle.
For a more in depth look at PG & VG check out our full guide.
For an in depth look at different ratios check out our ratio guide.
Step 4 – Give it a shake

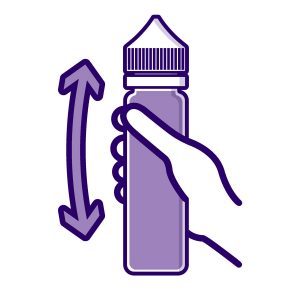
- Place the 30ml bottle nib onto the bottle, a firm press down should do the trick, you will hear a little click.
- Give the bottle a vigorous shake until all the ingredients have mixed together. You can usually tell when it’s done as it will have a uniform colour with no streaks going through the bottle and often some bubbles forming.
Additional information
- If you have chosen a cream or bakery style flavour, your liquid will benefit from what is called a steeping time, full information on steeping can be found here.
- Fruit flavours are usually what are known as a “shake and vape” meaning it’s ready to go straight away.
- If you are finding it harsh at first leave it in a warm place with the lid off to allow it to breathe, this usually rectifies itself in a day or two.
- Moving forward if you enjoyed this and want to continue, we recommend getting an E-liquid calculator either on your phone, there are plenty on the app store for free, or downloading one onto your PC, again many great free ones.
- Find links to where you need to go on our DIY E-Liquid page.